English
 Italian(Italiano)
 Deutsch(German)
 Español
What is Plantable Paper?
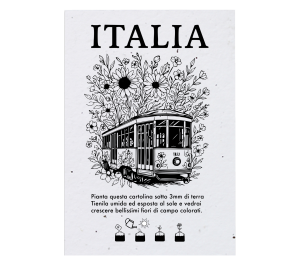
Plantable Paper is an eco-friendly product that combines creativity and sustainability. Unlike traditional paper, this special paper contains seeds that can sprout once planted. This makes it perfect for creating a variety of items like badges, invitations, or Postcards. The secret lies in its artisanal production process, which keeps the seeds alive and ready to bring the paper itself back to life. But how do you use it? Here are a few simple steps to make True Plantable Paper bloom!
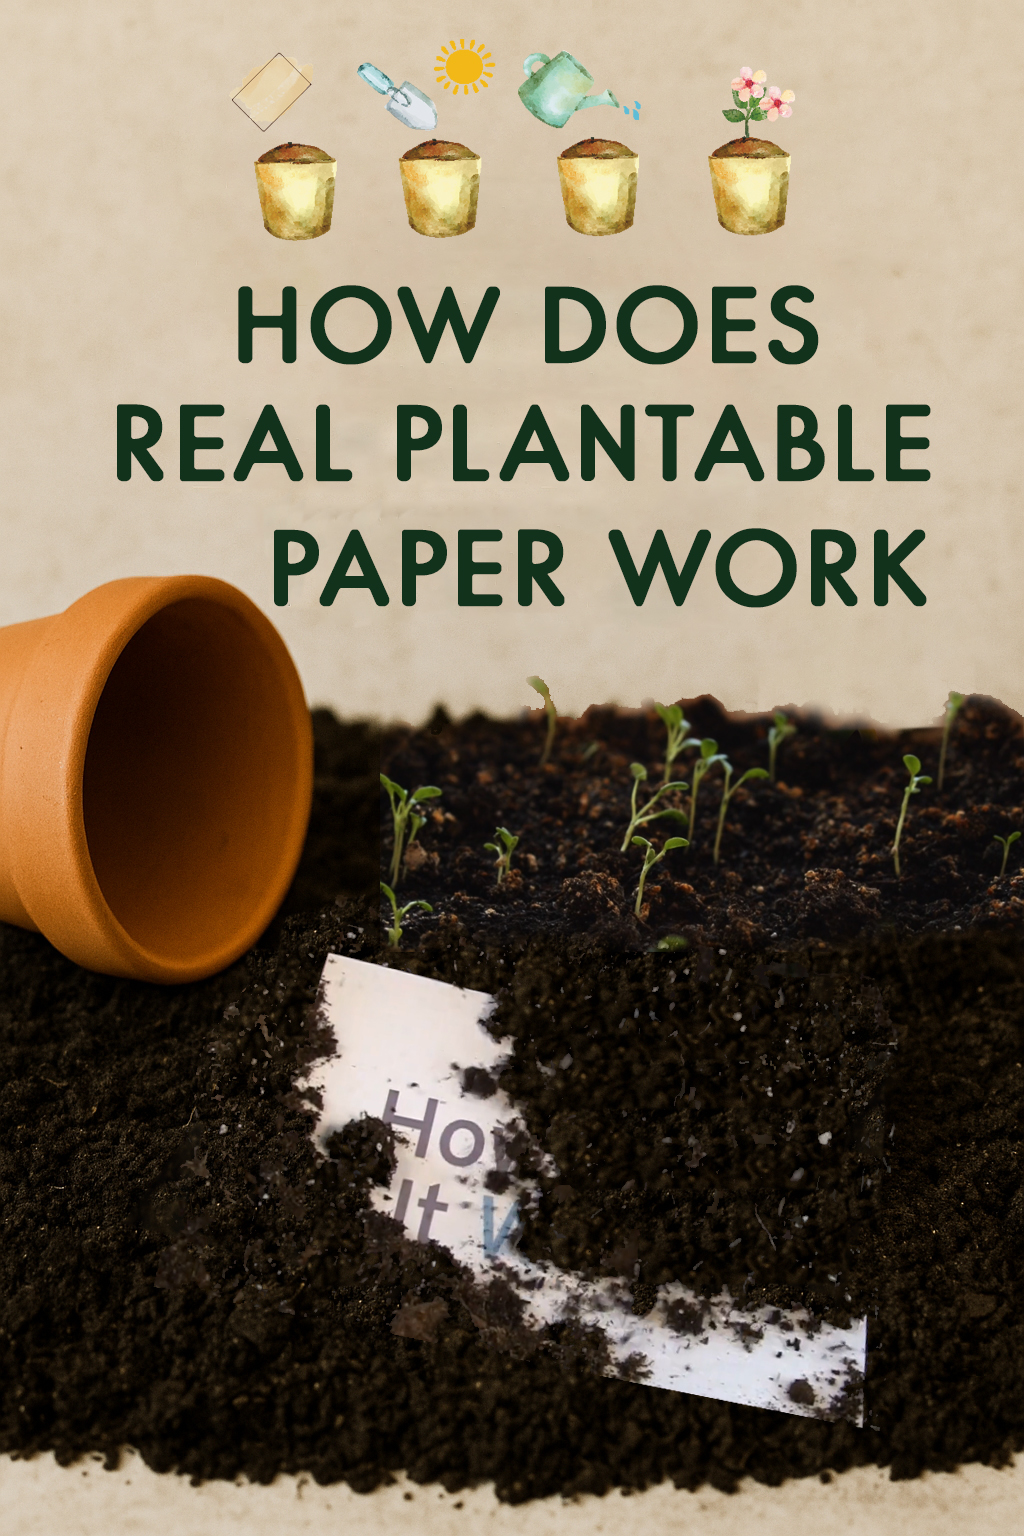
How to Make It Bloom
Do you have a card, tag, or gadget made of True Plantable Paper and want to know how to turn it into flowers? Great choice! This eco paper is made from recycled materials and contains seeds ready to sprout. With just a few simple steps, you can transform a written message into a real burst of nature. This guide will walk you through the process of making your True Plantable Paper bloom the right way.
Let’s Bust a Myth: No Need to Soak the Paper!
A common mistake is thinking that Plantable Paper needs to be soaked in water for 24 hours before planting. In reality, this step is not only unnecessary, it can actually damage the seeds. Prolonged soaking may cause the seeds to rot or lose their ability to germinate. Plantable paper is designed to activate naturally with soil moisture: just place it a few centimeters into the soil and water it regularly (lay it flat rather than pushing it vertically into the soil). No soaking, no stress: nature already knows what to do.
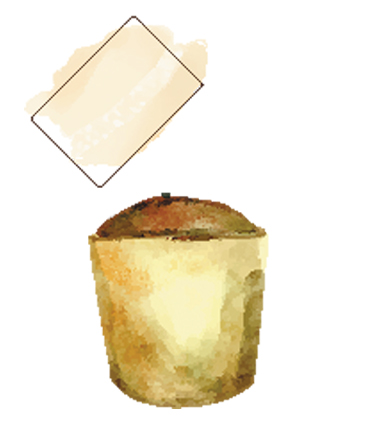
Plant It in Soft, Light Soil
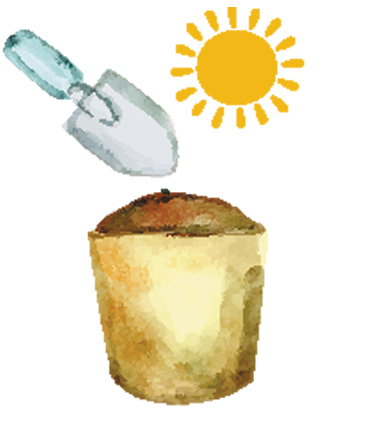
As mentioned, True Plantable Paper is ready to be planted. Choose a pot with organic soil or a well-drained spot in your garden. Lay the paper directly on the surface and cover it with a thin layer of soil, about half a centimeter thick. No need to press it down—seeds need light and air as well as protection. This step is crucial: it’s the beginning of the transformation process from paper to plant.
Water and Light: Daily Care
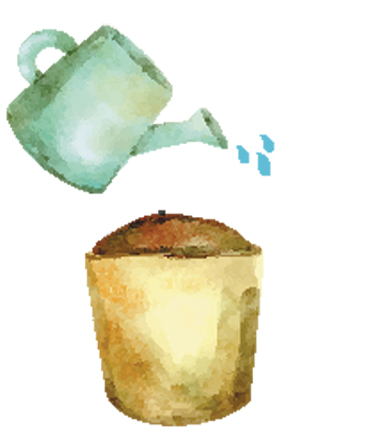
True Plantable Paper is alive and, like any seed, it needs care. After planting, lightly water it every day to keep the soil consistently moist, but not soaked. Ideally, use a spray bottle or a fine shower watering can to avoid disturbing the soil. Place the pot in a bright spot in your home or on your balcony—indirect sunlight works perfectly. The combination of steady moisture and natural light will trigger seed germination.
Wait a Few Weeks to See Sprouts
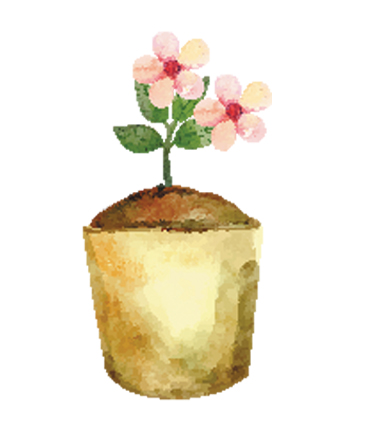
Now you just need one thing: patience. The first sprouts will appear after 1–3 weeks, depending on the type of seeds embedded in the paper and the environmental conditions. During this time, continue watering regularly, making sure the soil never dries out completely. When you see the first green leaves, you’ll know you did everything right. From there, just care for the seedlings like any other plant—and enjoy the result: a little green corner born from a piece of paper.
A Simple Gesture That Makes a Difference
Bringing True Plantable Paper to bloom is much more than a symbolic act. It’s a tangible step toward a more sustainable lifestyle, blending the value of recycling with the joy of growing beauty. Every sprouted seed tells a story: one of a card that doesn’t end up in the trash, but continues to live on. It’s an original way to give emotions that don’t fade, but instead take root and grow over time.